

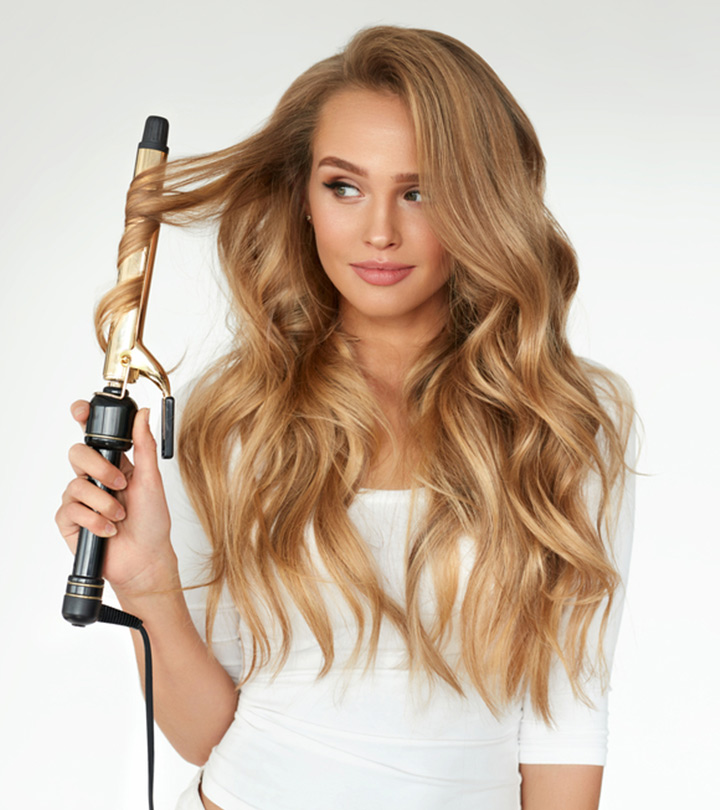
The soft, delicate and classy waves provided by Babyliss curling wands are always in fashion. The “Babyliss effect” is already a beauty salon classic and one of the most famous hairstyles. However, although many women love this look, many of them don’t know how to reproduce it at home.
Wrapping a hair lock around a curling wand and getting the perfect result is not as easy as it seems. It requires practice and knowledge of some good tricks. If you never knew how to achieve the perfect curls with Babyliss iron, now those days are over. This article will teach you some precious tips that will change your hair styling techniques for good!
First things first
If you will use a curling iron, make sure your hair is completely clean, detangled and dry. Wash your hair as usual with shampoo and conditioner, then blow dry it and brush it. Your hair must be detangled, otherwise it will totally ruin your curly look.
The right babyliss iron for your hair length
Have you ever considered that the reason why you’ve been struggling to use a curling iron is because the tool’s size isn’t right for your hair length? That’s right, different hair lengths also require different curling wands. Check out the rules to choose the best size:
Short hair
For tighter curls, try the 3/4″ curling iron. If you want something a bit looser and waiver, the best is the 1″ barrel.
Medium hair
The 1 1/4″ inch curling iron is great for messy waves. If you like sleeker curls, try the smaller 1″ barrel.
Long hair
For natural beach waves, use the larger 1 1/2″ inch iron, just with smaller sections of hair. In case you want glamorous and smooth waves, use the 1 1/2″ inch on larger sections of hair. And for a curlier effect, choose smaller irons like the 1 1/4″ inch.
Separating the hair into sections
If you don’t have an idea of how to make it, there is a “universal” trick to separate hair: start with an easy hair separation, divide it into two sections. If your hair is too thick, you must divide it into three sections instead.
How to curl the hair with a babyliss iron
There is no right or wrong technique. The process depends on your hair length, thickness, on your personal taste and the effect you want to give to your curls. But there are some “universal” tricks and techniques that might help all the beginners. Check it:
Technique 1
Hold the iron vertically with the clasp facing forward. Separate and clamp a 2 inch hair lock about 1 or 2 inches from the ends. Curl the hair all the way up to the root, and hold it from seven to twelve seconds (depends on your hair texture: the straighter, the longer). Remember to curl your hair out and away from your face. That creates the classic soft waves Babyliss iron look.
Technique 2
This technique provides the same results and curl shapes as the first one. However, this one is better for thick hair. In this case, you will also hold the curling iron vertically and clasp a 2 inch lock halfway up.
Twirl the Babyliss, curling your roots first, and remember to keep it away from your face. Release the clasp gently and slide the iron down, closer to the tips. Curl the sections of hair all the way to the roots. Always hold the hair for about seven seconds.
[1]https://advicefromatwentysomething.com/how-to-use-a-curling-iron/
Protect your hair from the heat of the babyliss iron
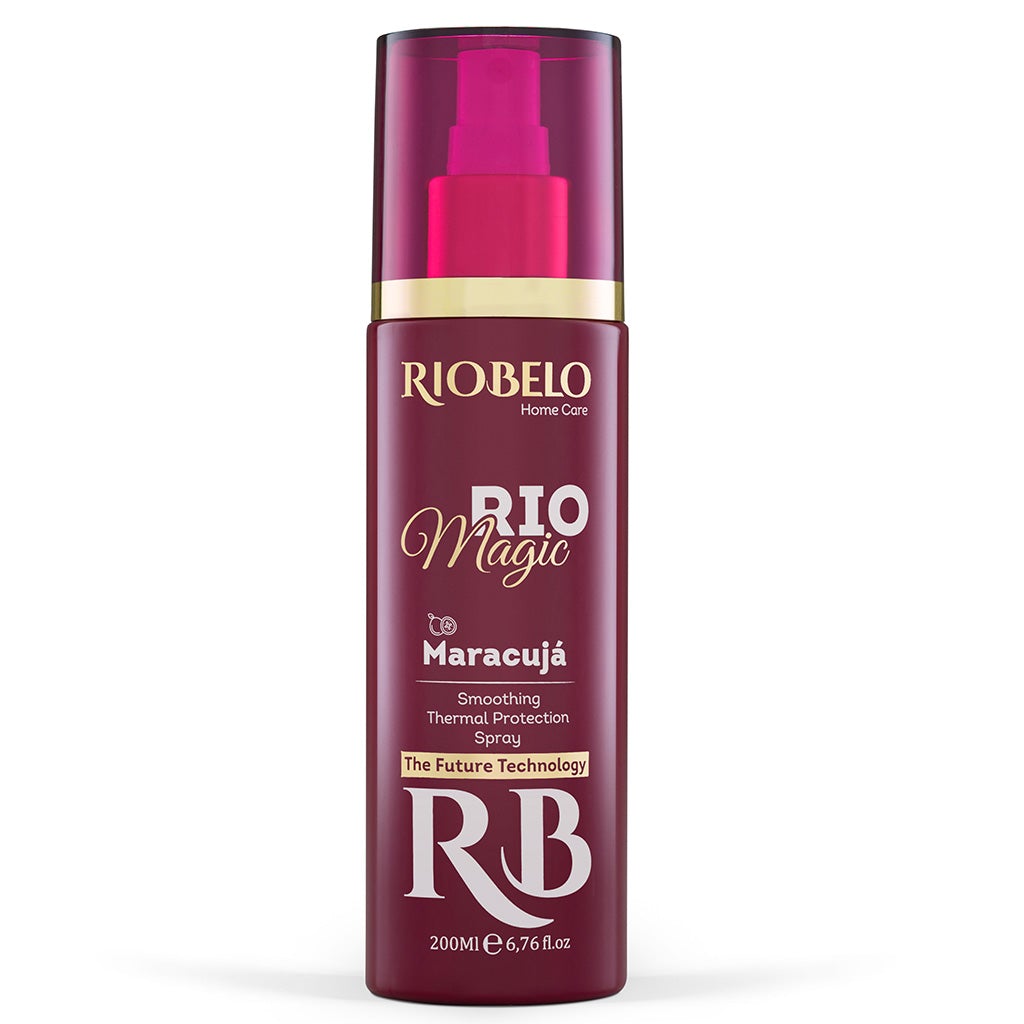
Excessive heat can damage the hair. That’s why you need to be careful when using a Babyliss (or any other heat tool). Before using it, always apply a thermal protector. Plus, avoid curling your hair more than once a week or holding your hair locks around the wand for longer than 12 seconds. Curling wands reach a really high temperature that can literally burn your hair if you don’t be careful.
If you are looking for the perfect Babyliss or thermal protector options, take a look at Metro Brazil’s website: we have the best Brazilian hair products and professional heat tools.
And if you enjoyed this article, don’t forget to share it with your friends and follow us on social media!
References